

§Creating a standalone version of your application
§Using the dist task
The simplest way to deploy a Play application is to retrieve the source (typically via a git workflow) on the server and to use either activator start or activator stage to start it in place.
However, you sometimes need to build a binary version of your application and deploy it to the server without any dependency on Play itself. You can do this with the dist task.
In the Play console, simply type dist:
[my-first-app] $ dist
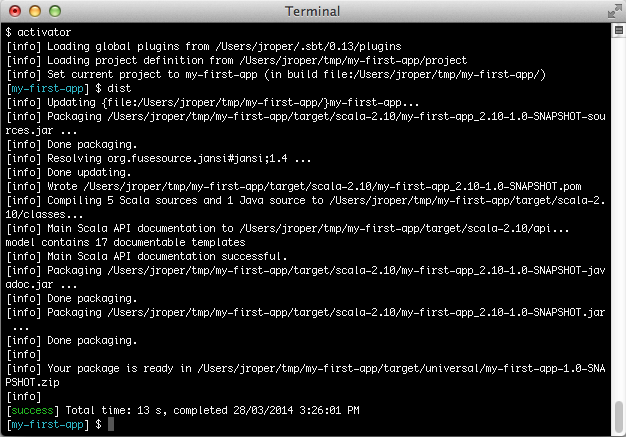
This produces a ZIP file containing all JAR files needed to run your application in the target/universal folder of your application. Alternatively you can run activator dist directly from your OS shell prompt, which does the same thing:
$ activator dist
For Windows users a start script will be produced with a .bat file extension. Use this file when running a Play application on Windows.
For Unix users, zip files do not retain Unix file permissions so when the file is expanded the start script will be required to be set as an executable:
$ chmod +x /path/to/bin/<project-name>Alternatively a tar.gz file can be produced instead. Tar files retain permissions. Invoke the
universal:package-zip-tarballtask instead of thedisttask:activator universal:package-zip-tarball
By default, the dist task will include the API documentation in the generated package. If this is not necessary, it can be avoided by including this line in build.sbt:
doc in Compile <<= target.map(_ / "none")
For builds with sub-projects, the statement above has to be applied to all sub-project definitions.
§The Native Packager
Play uses the SBT Native Packager plugin. The native packager plugin declares the dist task to create a zip file. Invoking the dist task is directly equivalent to invoking the following:
$ activator universal:package-bin
Many other types of archive can be generated including:
- tar.gz
- OS X disk images
- Microsoft Installer (MSI)
- RPMs
- Debian packages
- System V / init.d and Upstart services in RPM/Debian packages
Please consult the documentation on the native packager for more information.
§Build a server distribution
The sbt-native-packager plugins provides and java_server archetype which enables the following features
- System V or Upstart startup scripts
- Default folders
A full documentation can be found in the documentation.
To enable the java_server archetype you have to add packageArchetype.java_server, so it looks like this
import com.typesafe.sbt.SbtNativePackager._
import NativePackagerKeys._

name := "yourapp"

packageArchetype.java_server
Play manages its own PID, which is describe in the Production configuration.
In order to tell the startup script where to place the PID file put a file etc-default inside src/main/
folder and add the following content
-Dpidfile.path=/var/run/${{app_name}}/play.pid
# Add all other startup settings here, too
For a full list of replacements take a closer look at the documentation.
Don’t forget to add the necessary settings for your specific package type, like maintainer and packageDescription.
§Publishing to a Maven (or Ivy) repository
You can also publish your application to a Maven repository. This publishes both the JAR file containing your application and the corresponding POM file.
You have to configure the repository you want to publish to, in your build.sbt file:
 publishTo := Some(
   "My resolver" at "http://mycompany.com/repo"
 ),

 credentials += Credentials(
   "Repo", "http://mycompany.com/repo", "admin", "admin123"
 )
Then in the Play console, use the publish task:
[my-first-app] $ publish
Check the sbt documentation to get more information about the resolvers and credentials definition.
Next: Production configuration